Sommaire
We will see in this tutorial a new kind #DIY on Sys-Advisor, how to install RecalBox the retrogaming OS on Raspberry Pi in no time.
For starters, RecalBox what is it ?
RecalBox is your retrogaming console #homemade which will allow you to play again (for the older ;-)) or to discover for the youngest an infinity of old games … The OS RecalBox based on the GNU/Linux system and therefore open source is available on several platforms and deployable very simply in a few minutes.
In a few digits, RecalBox is therefore:
- More than 40 000 compatible games
- More than 50 systems available
- Up to 5 simultaneous players
- Hours and hours of play
Feel free to go for a ride on the official website !!!
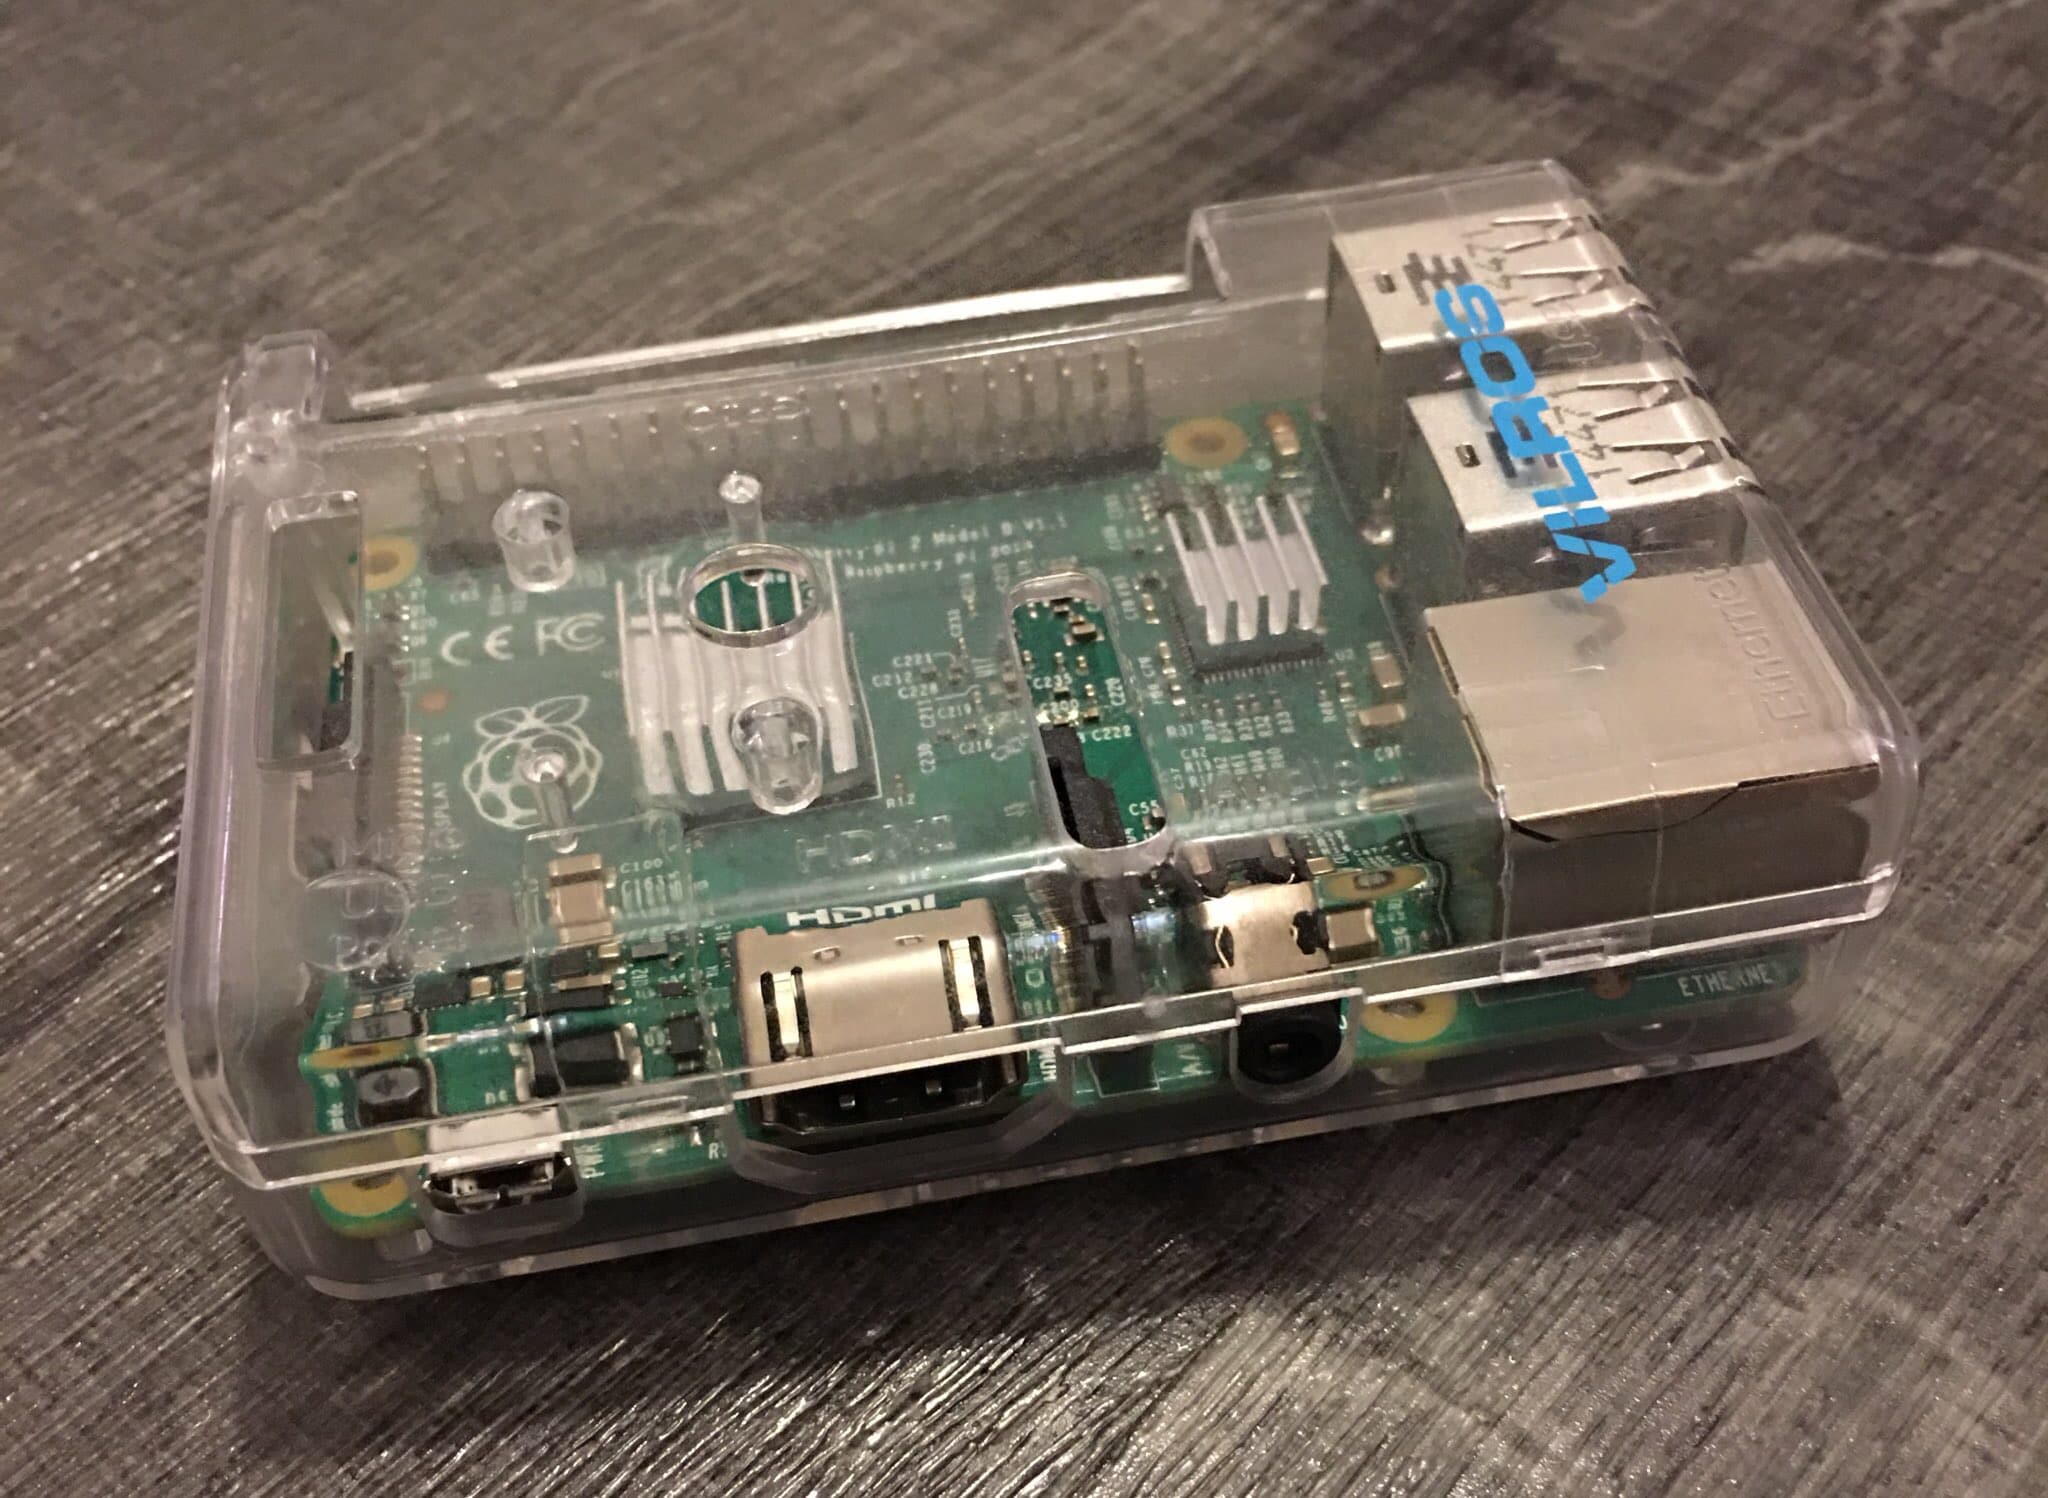
For this tutorial, I pulled out my old Raspberry Pi 2 with its 8 GB SD card and this is the result.
The prerequisites to be respected
As part of the tutorial, here are the tools and applications I used:
- A Raspberry Pi 2 (or newer)
- An 8 GB SD card (or more than 8 GB)
- The etcher application (to format the SD card)
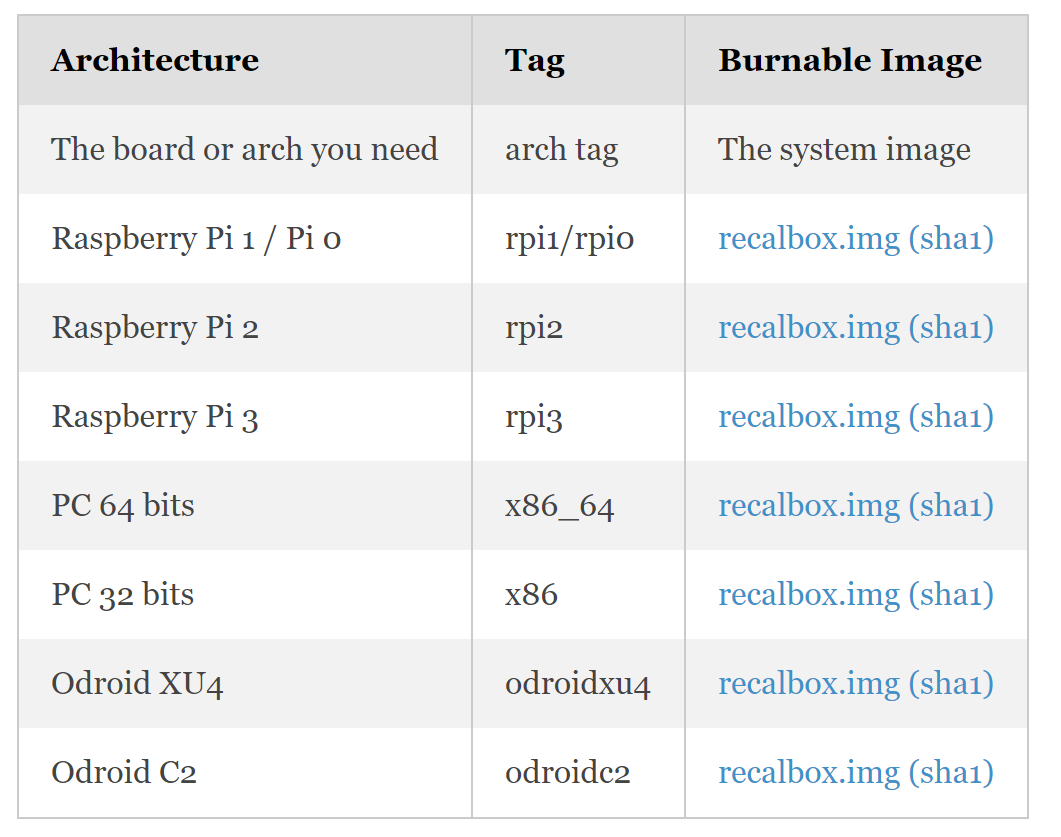
Let’s start by downloading the etcher application via this link then to download the RecalBox OS, go to this link. Choose and select the right image based on the equipment with which you will be using the system. In my case, I downloaded the image for Raspberry Pi 2.
Here is the same material used as part of this tutorial but a little newer..
[Amazon_link asses = ‘ B01CD5VC92, B01DDFFOYK, B014IX02KC ‘ template = ‘ ProductGrid ‘ store = ‘ sysadvisor09-21 ‘ marketplace = ‘ en ‘ link_id = ‘ caa44637-d158-11e7-8cb3-fde871b43176 ‘]
Installing the RecalBox OS
It’s time to installing the OS on the SD card.
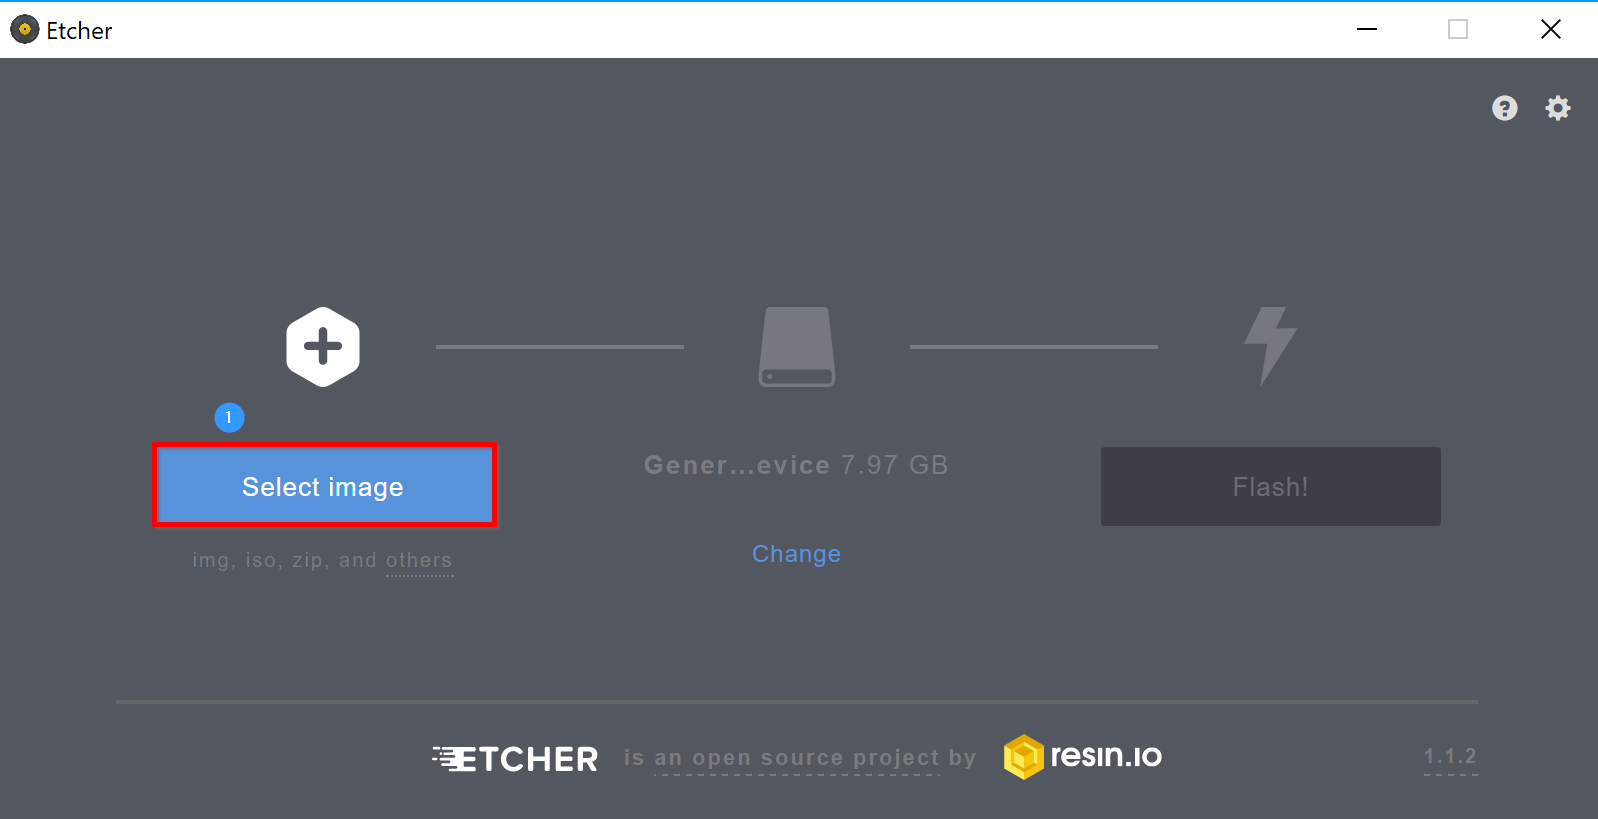
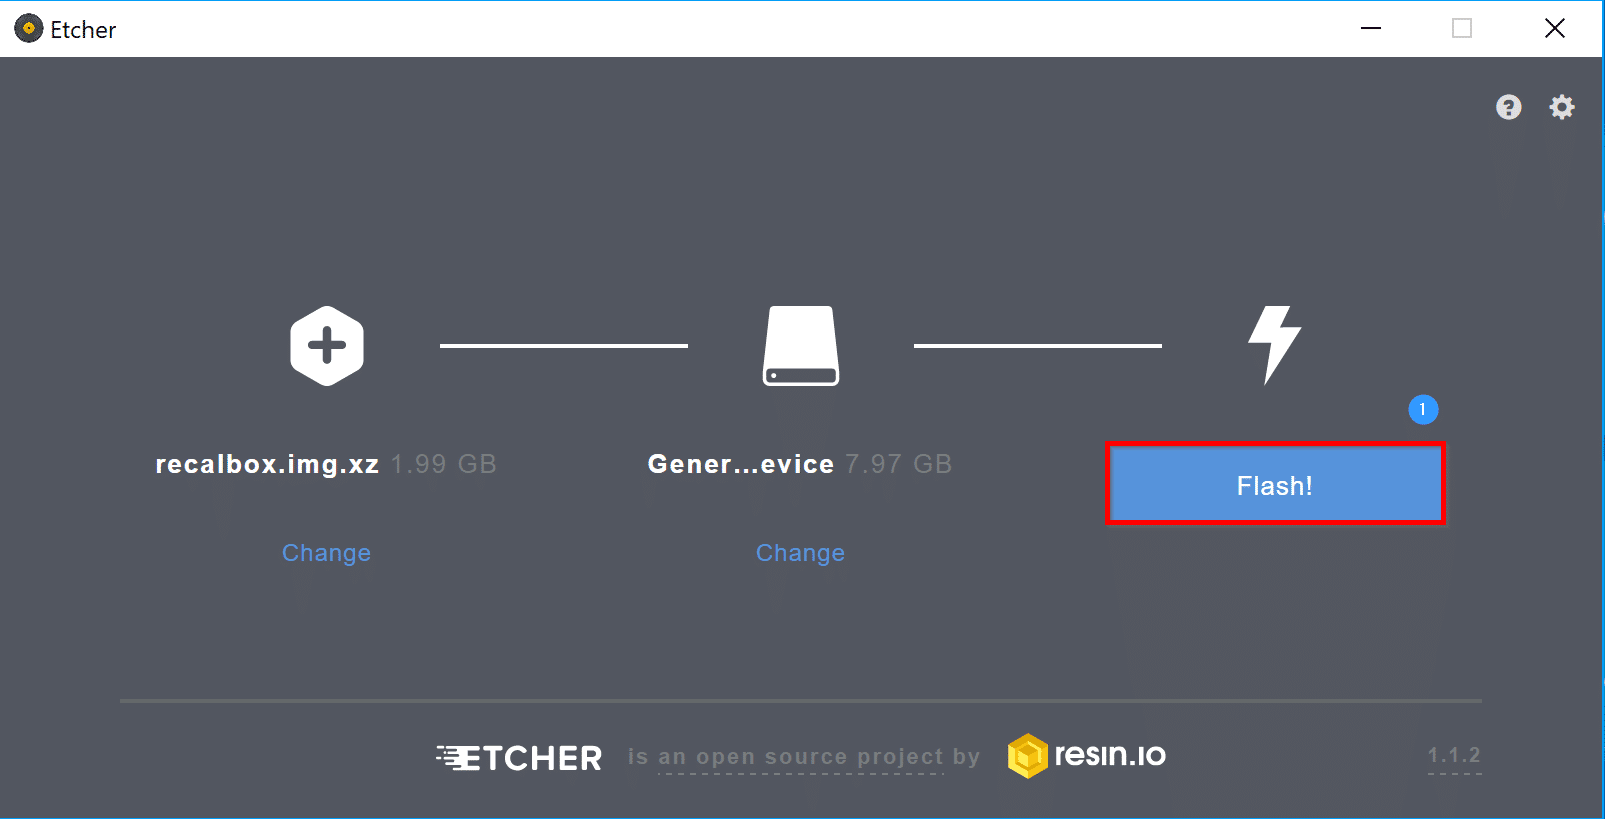
Open the etcher application that you will have installed beforehand and then click “Select image” to fetch the image of the downloaded RecalBox OS.
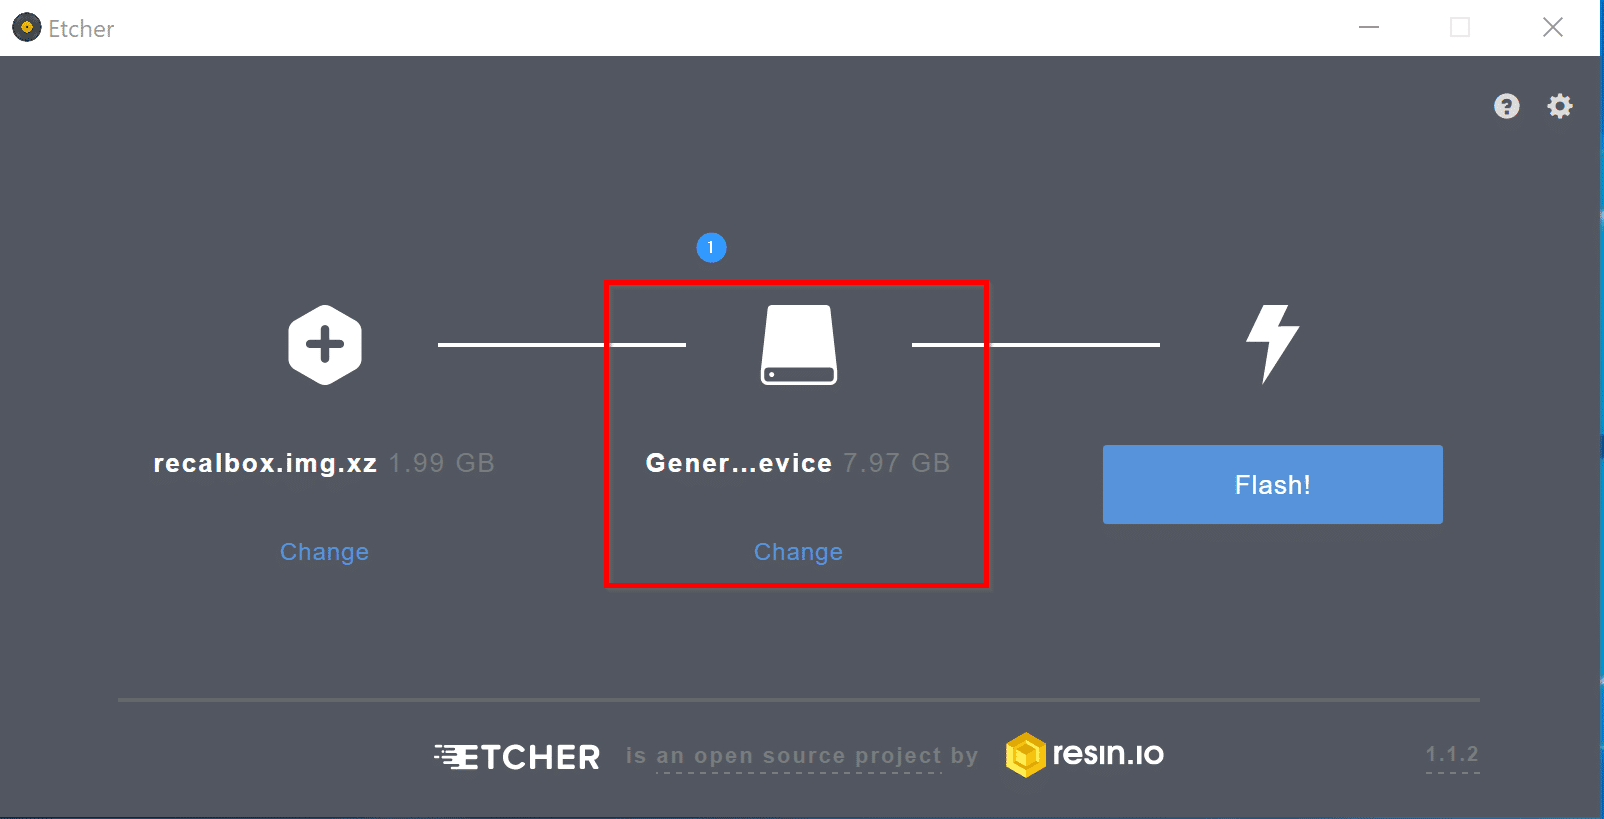
Click on “Select a Drive”.
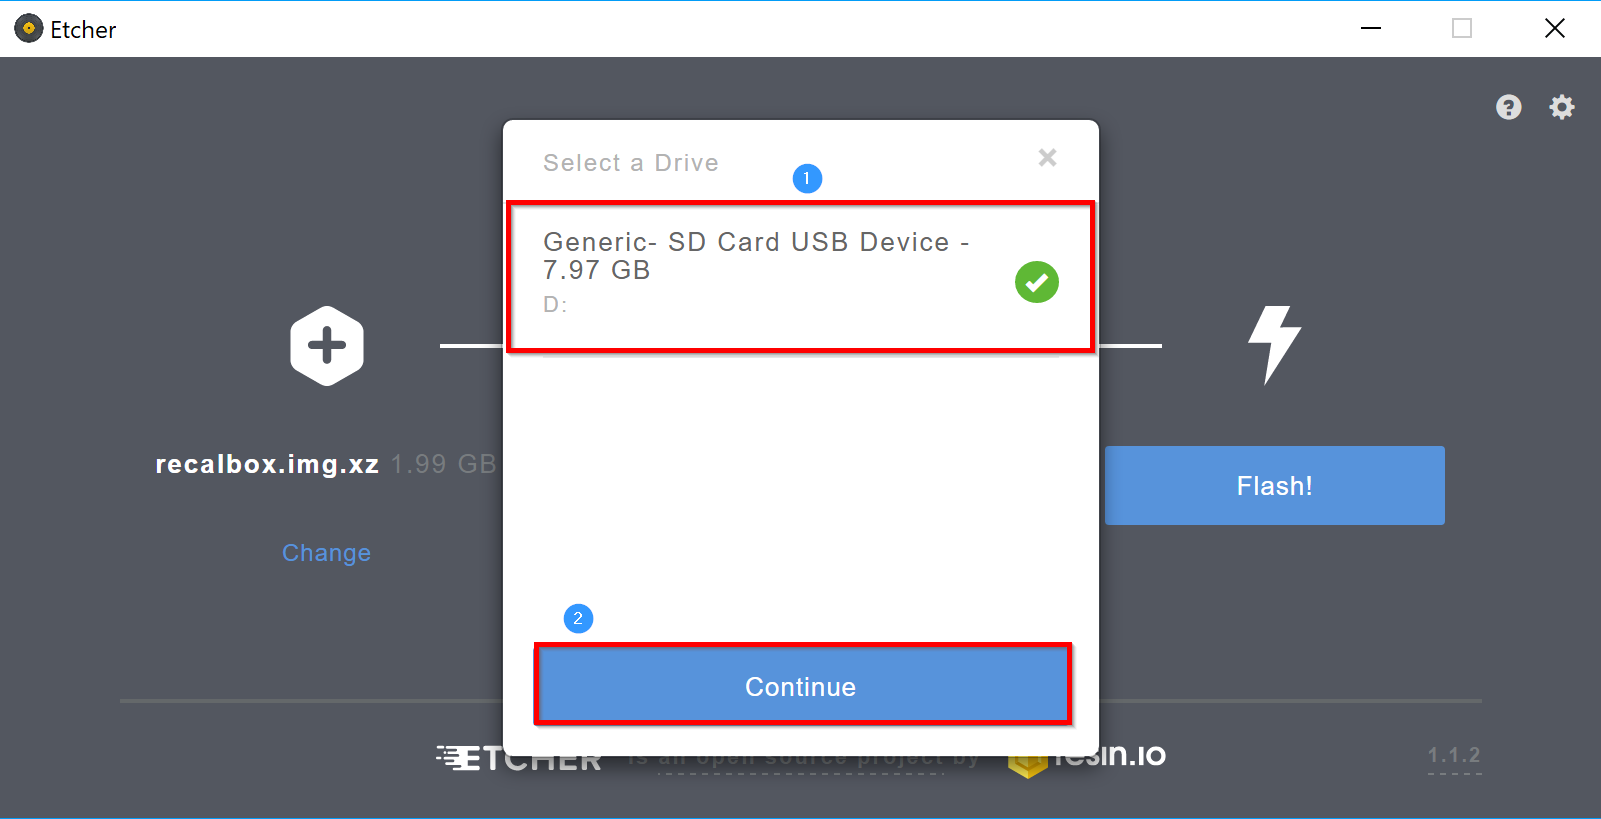
Select the SD card then click “Continue”.
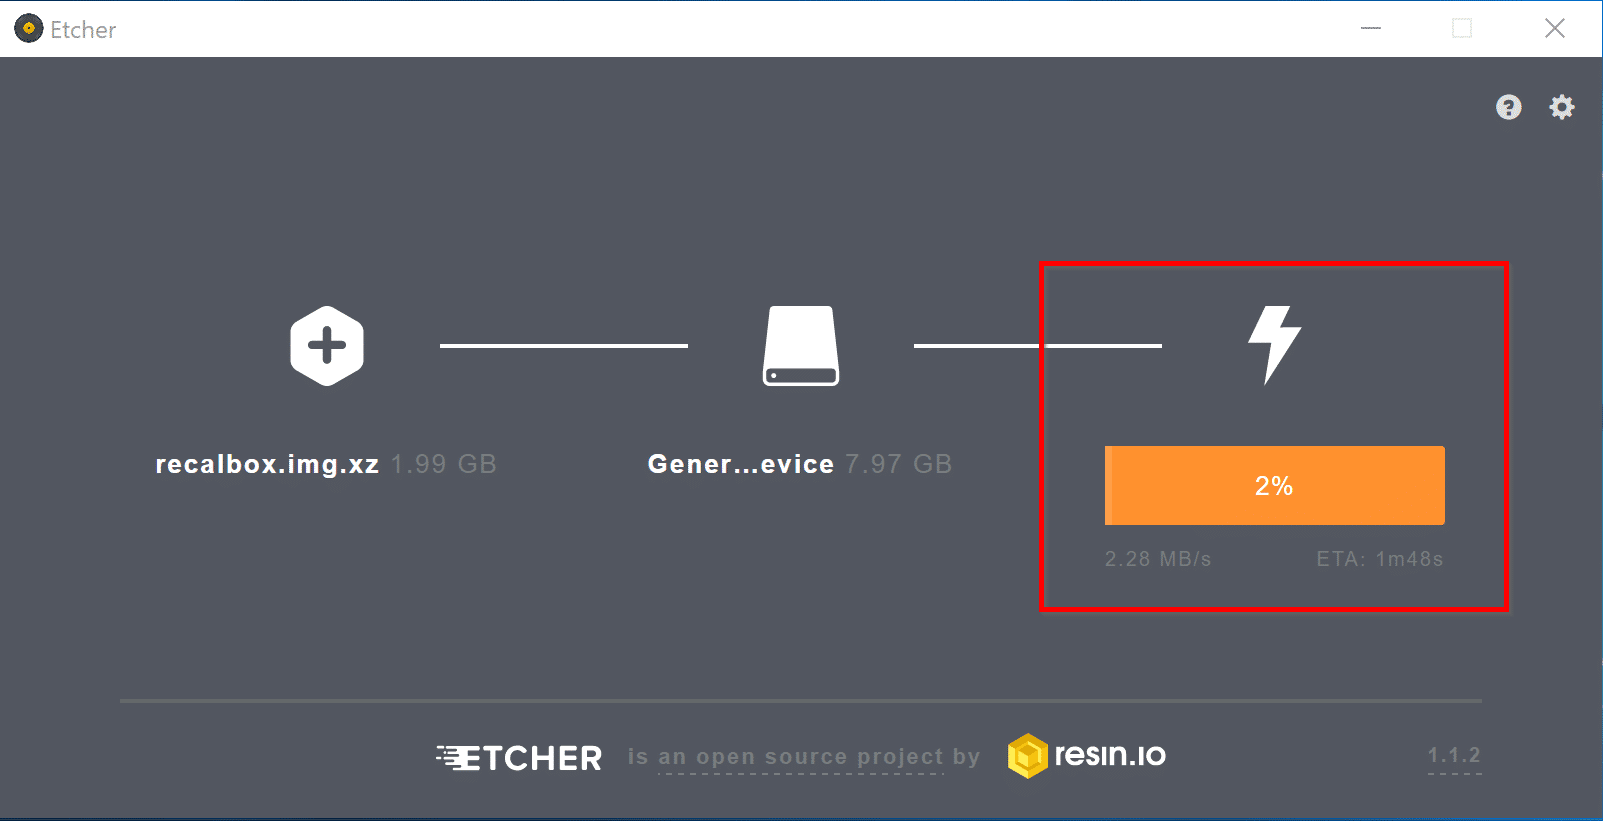
Click “Flash!”.
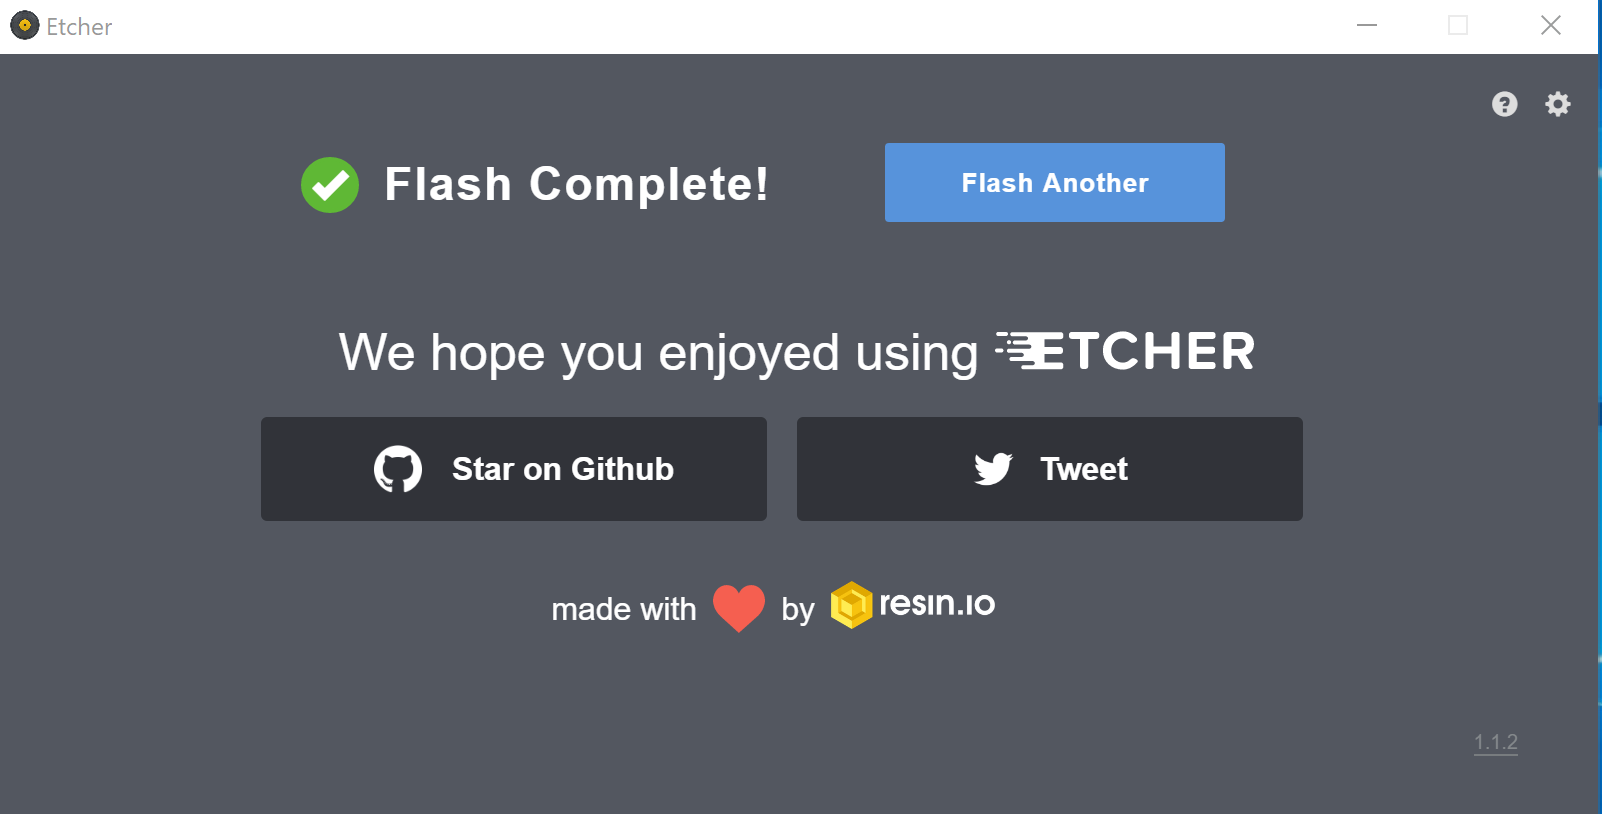
In a few moments the SD card will be ready!
The OS is now installed on the card, let’s go to the connection of the Raspberry.
Connecting the Raspberry
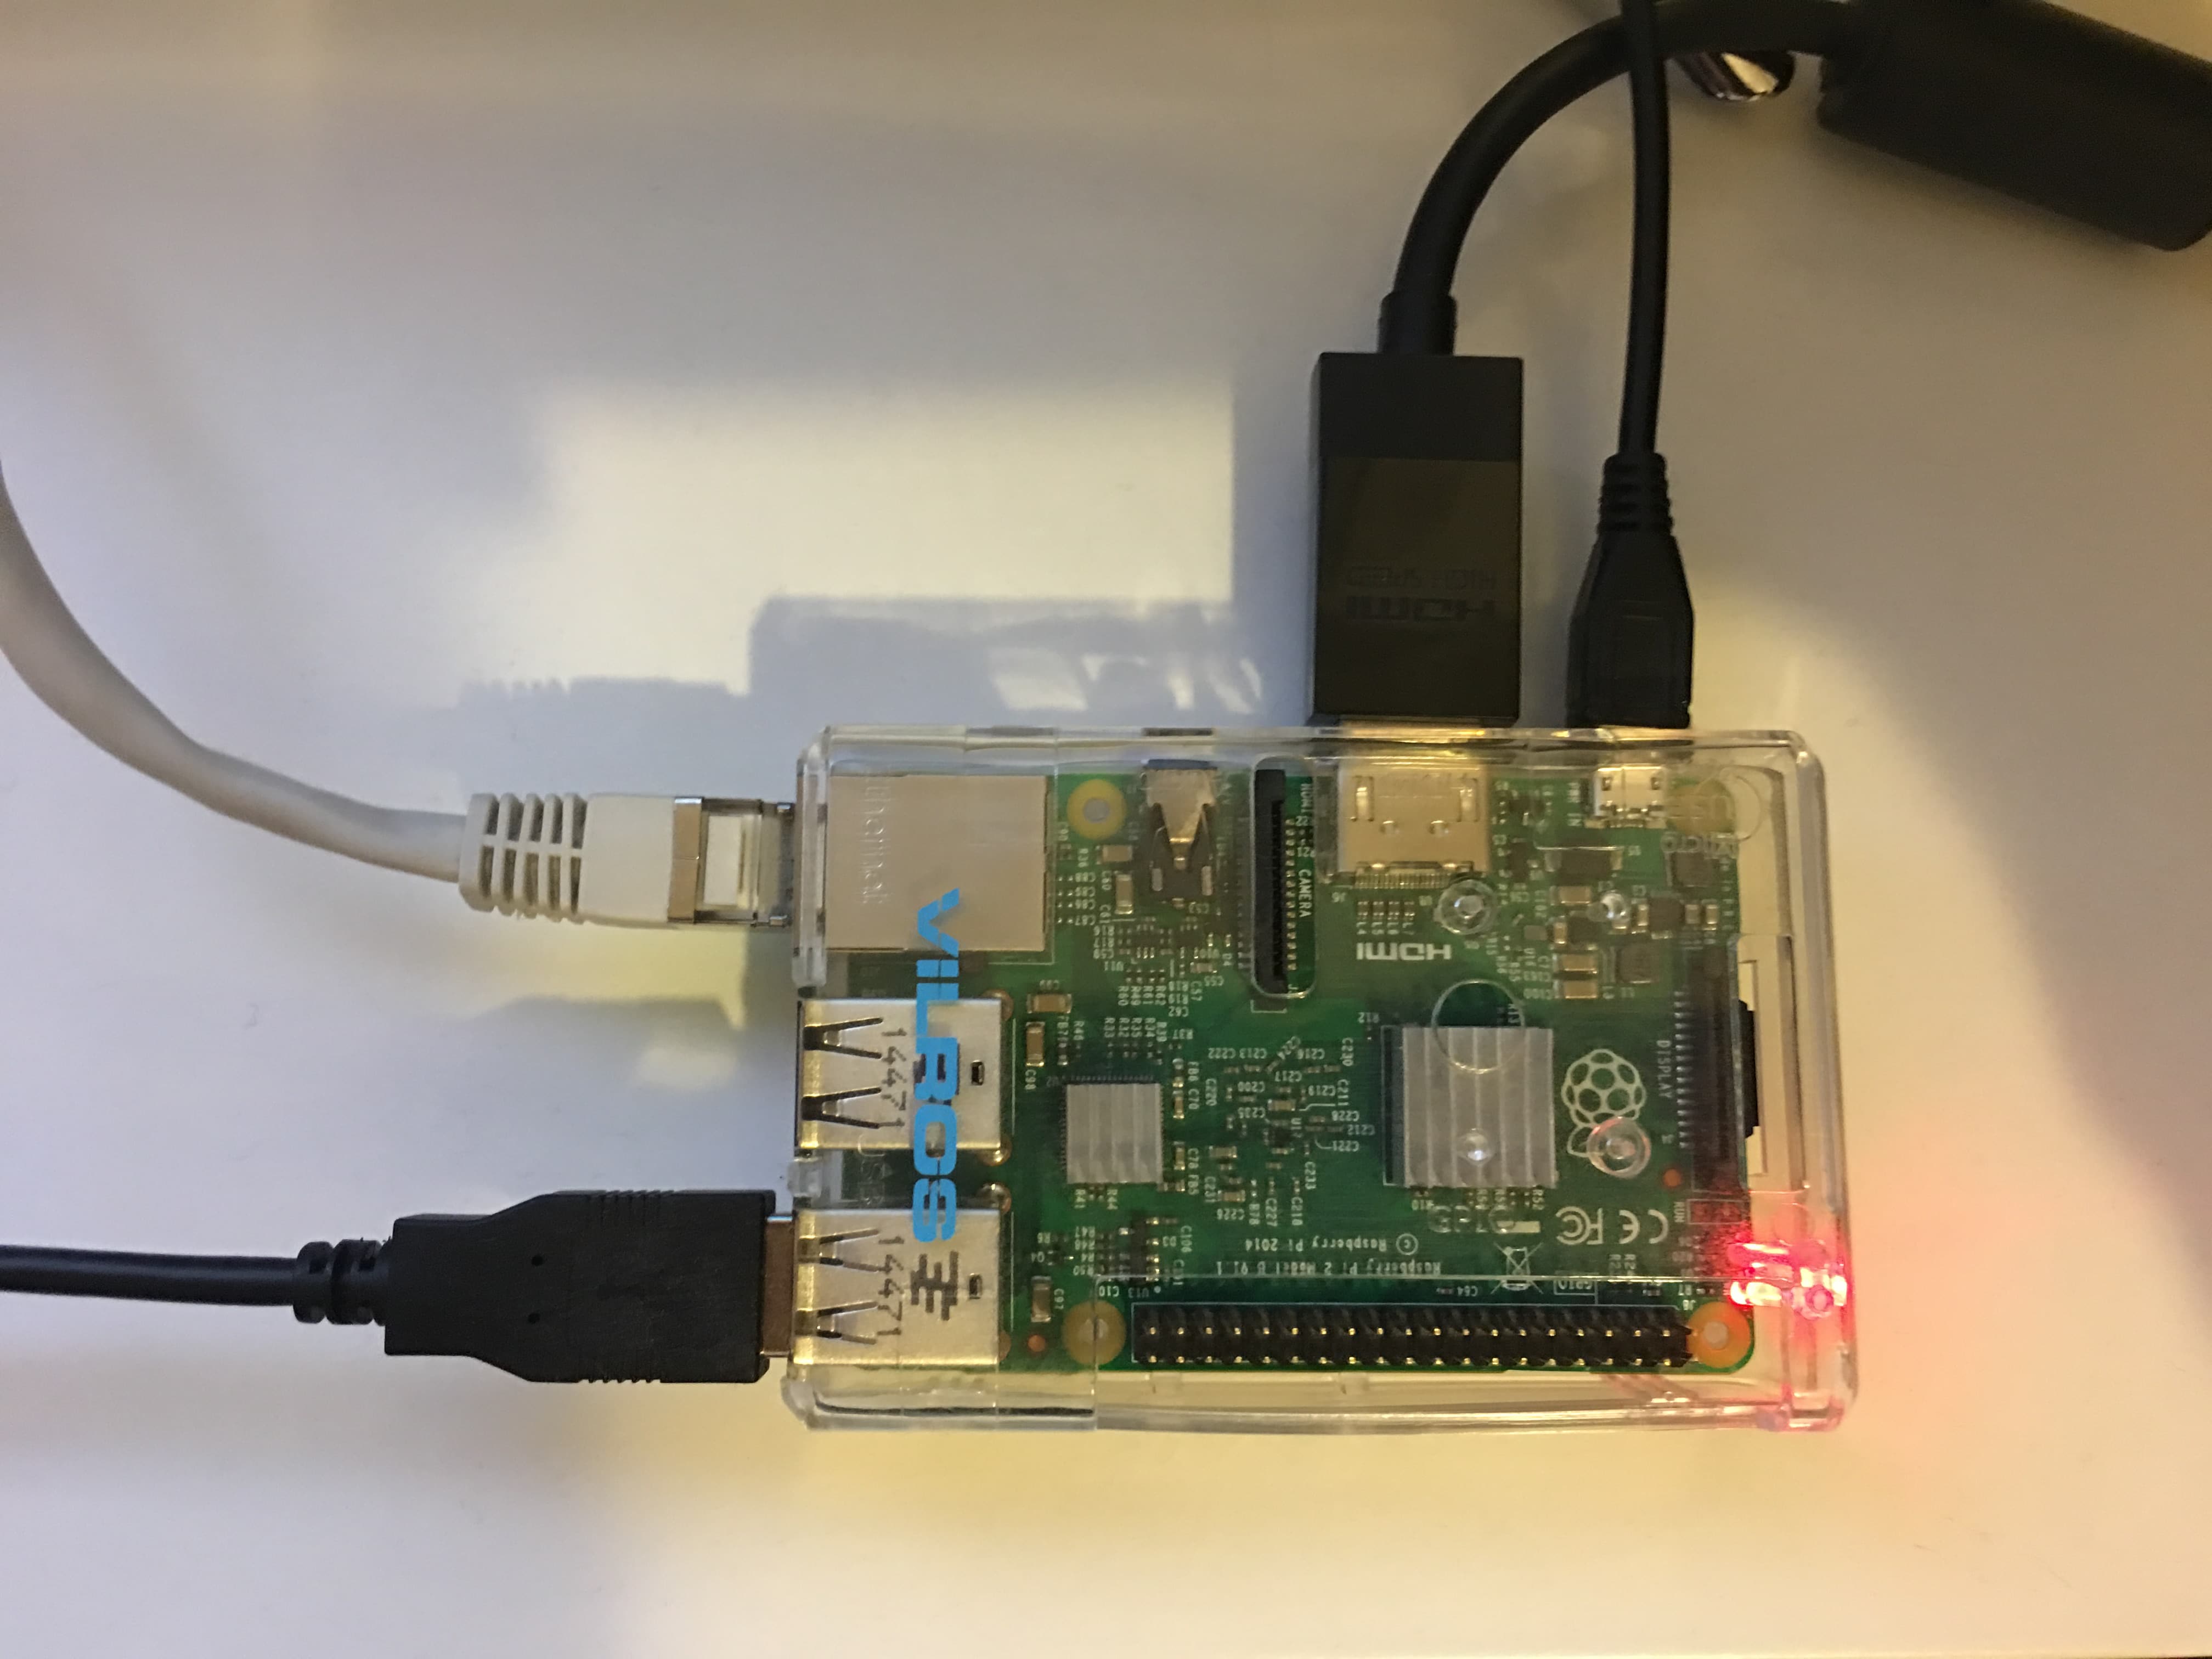
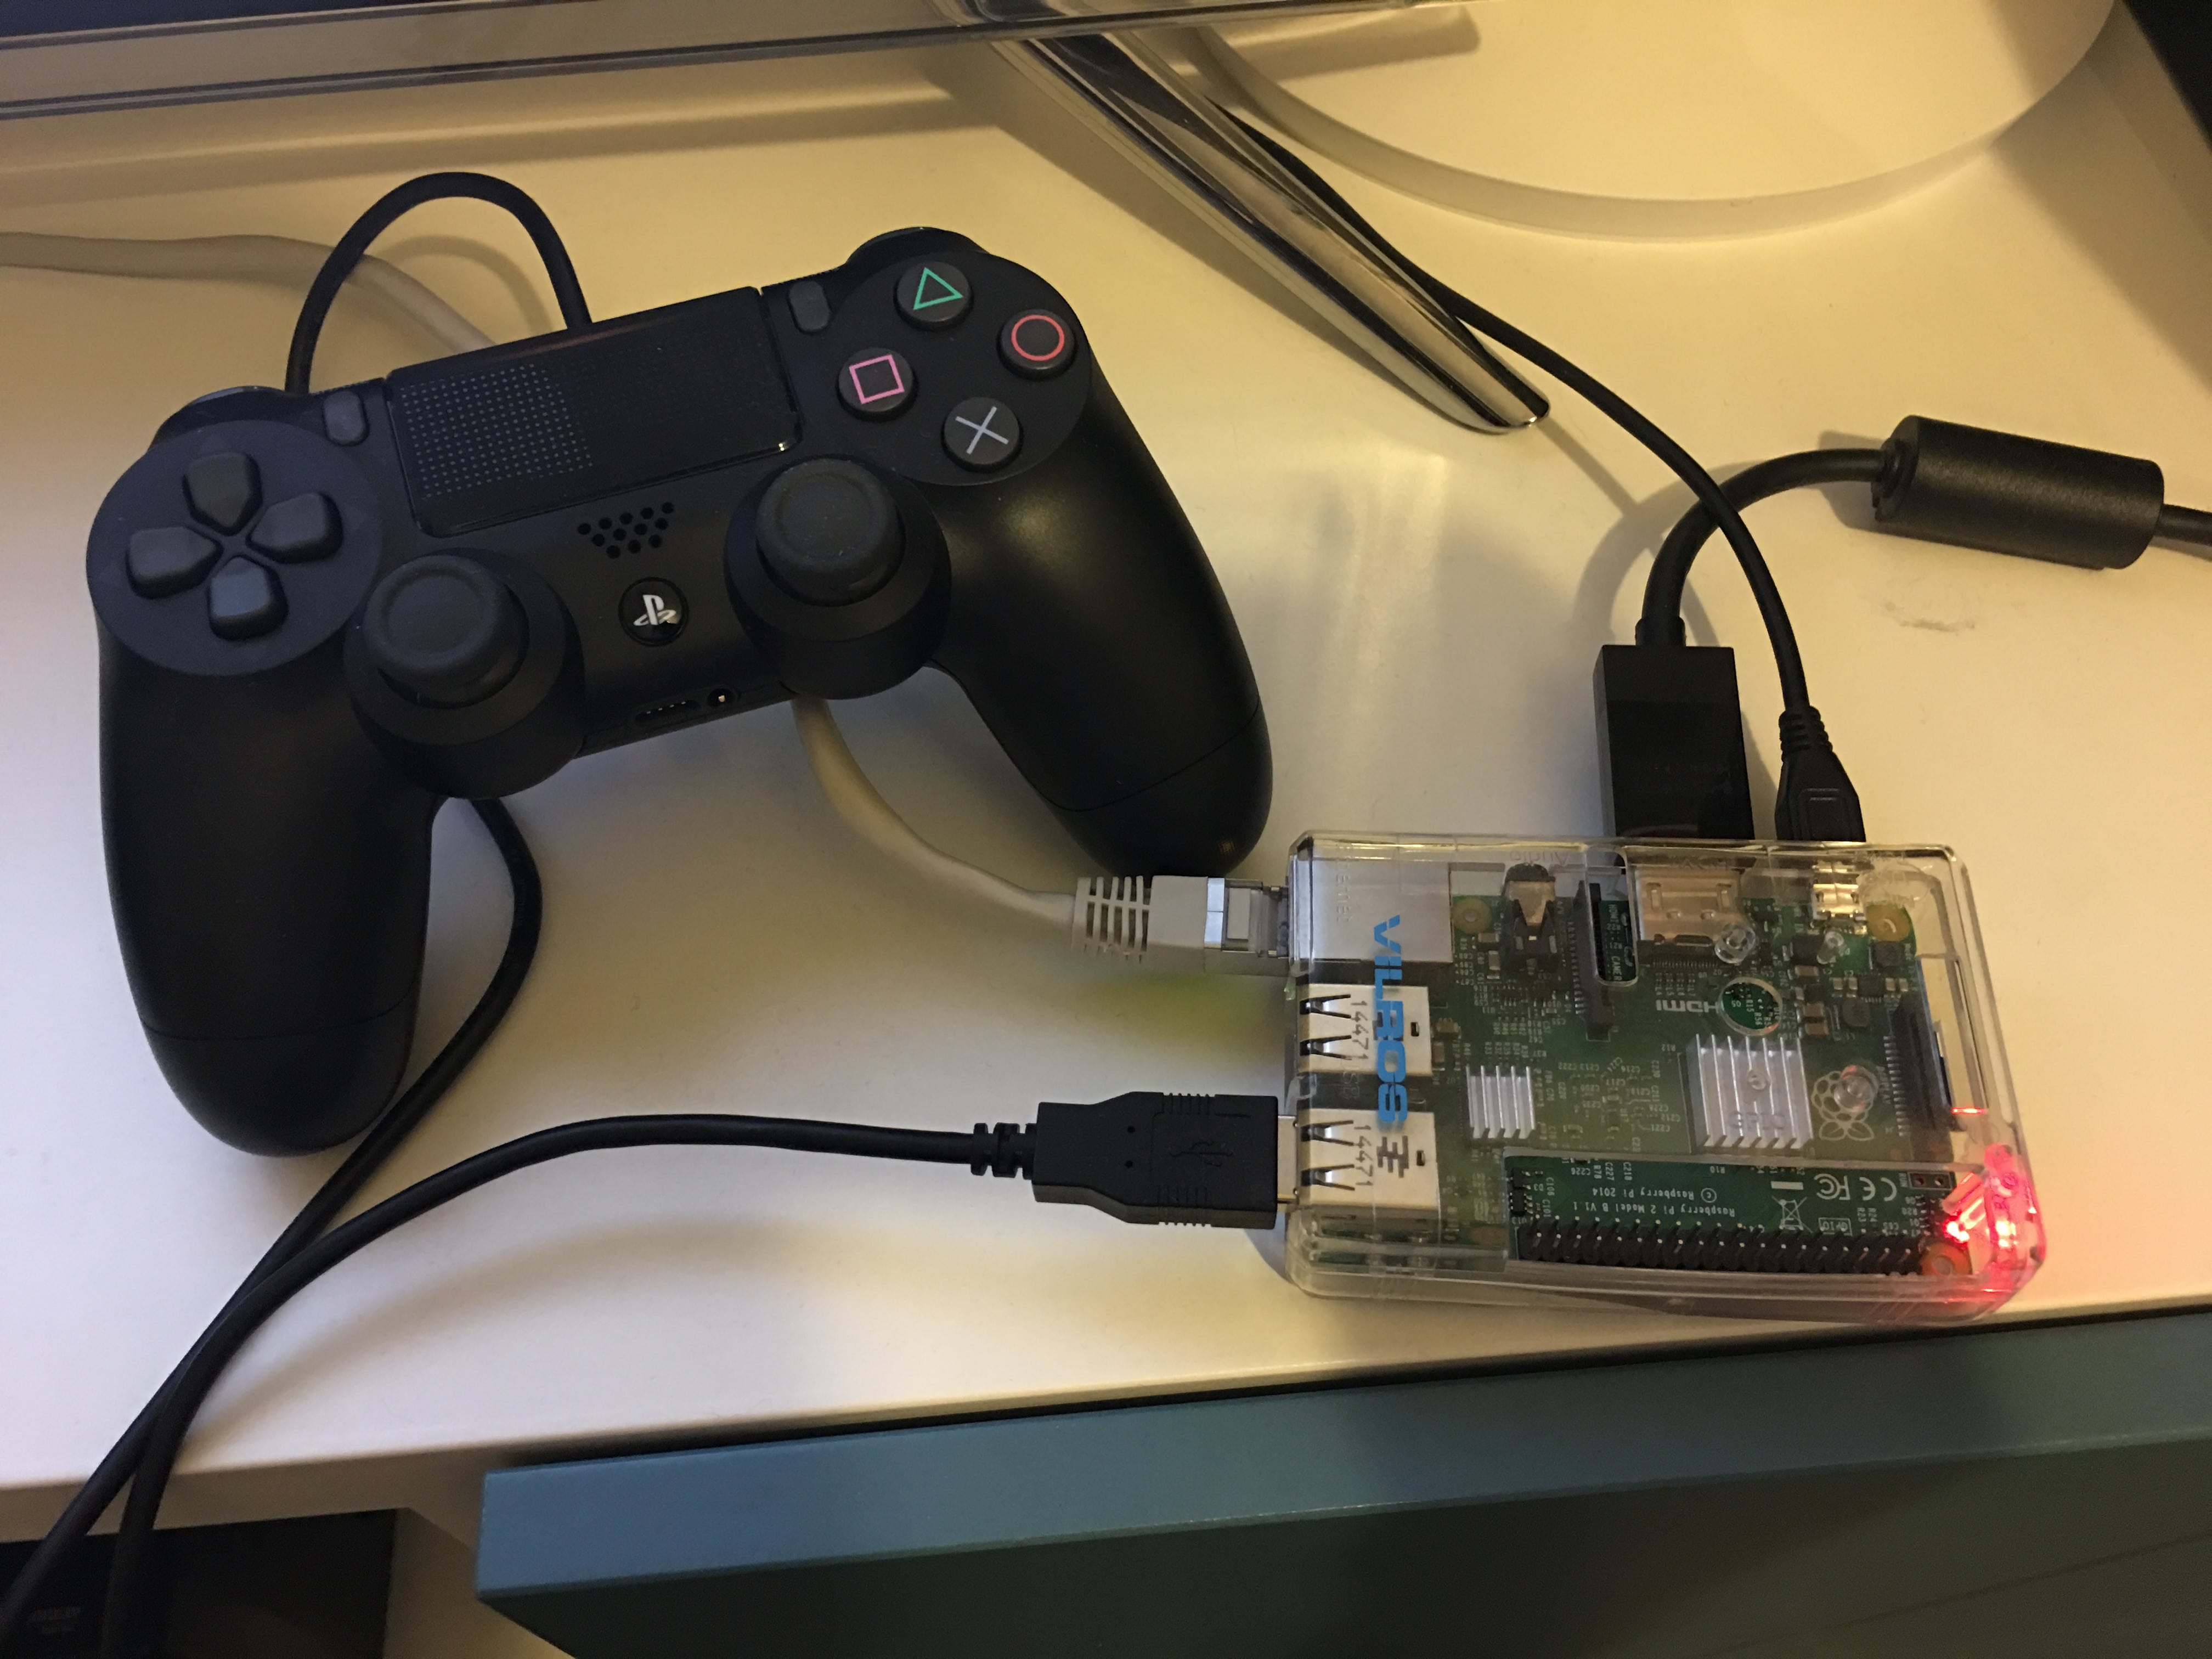
Connection of the Raspberry from left to right, USB of the controller PS4, RJ45, HDMI, power supply.
This is the Raspberry Pi plugged in and with a PS4 joystick.
Starting the RecalBox
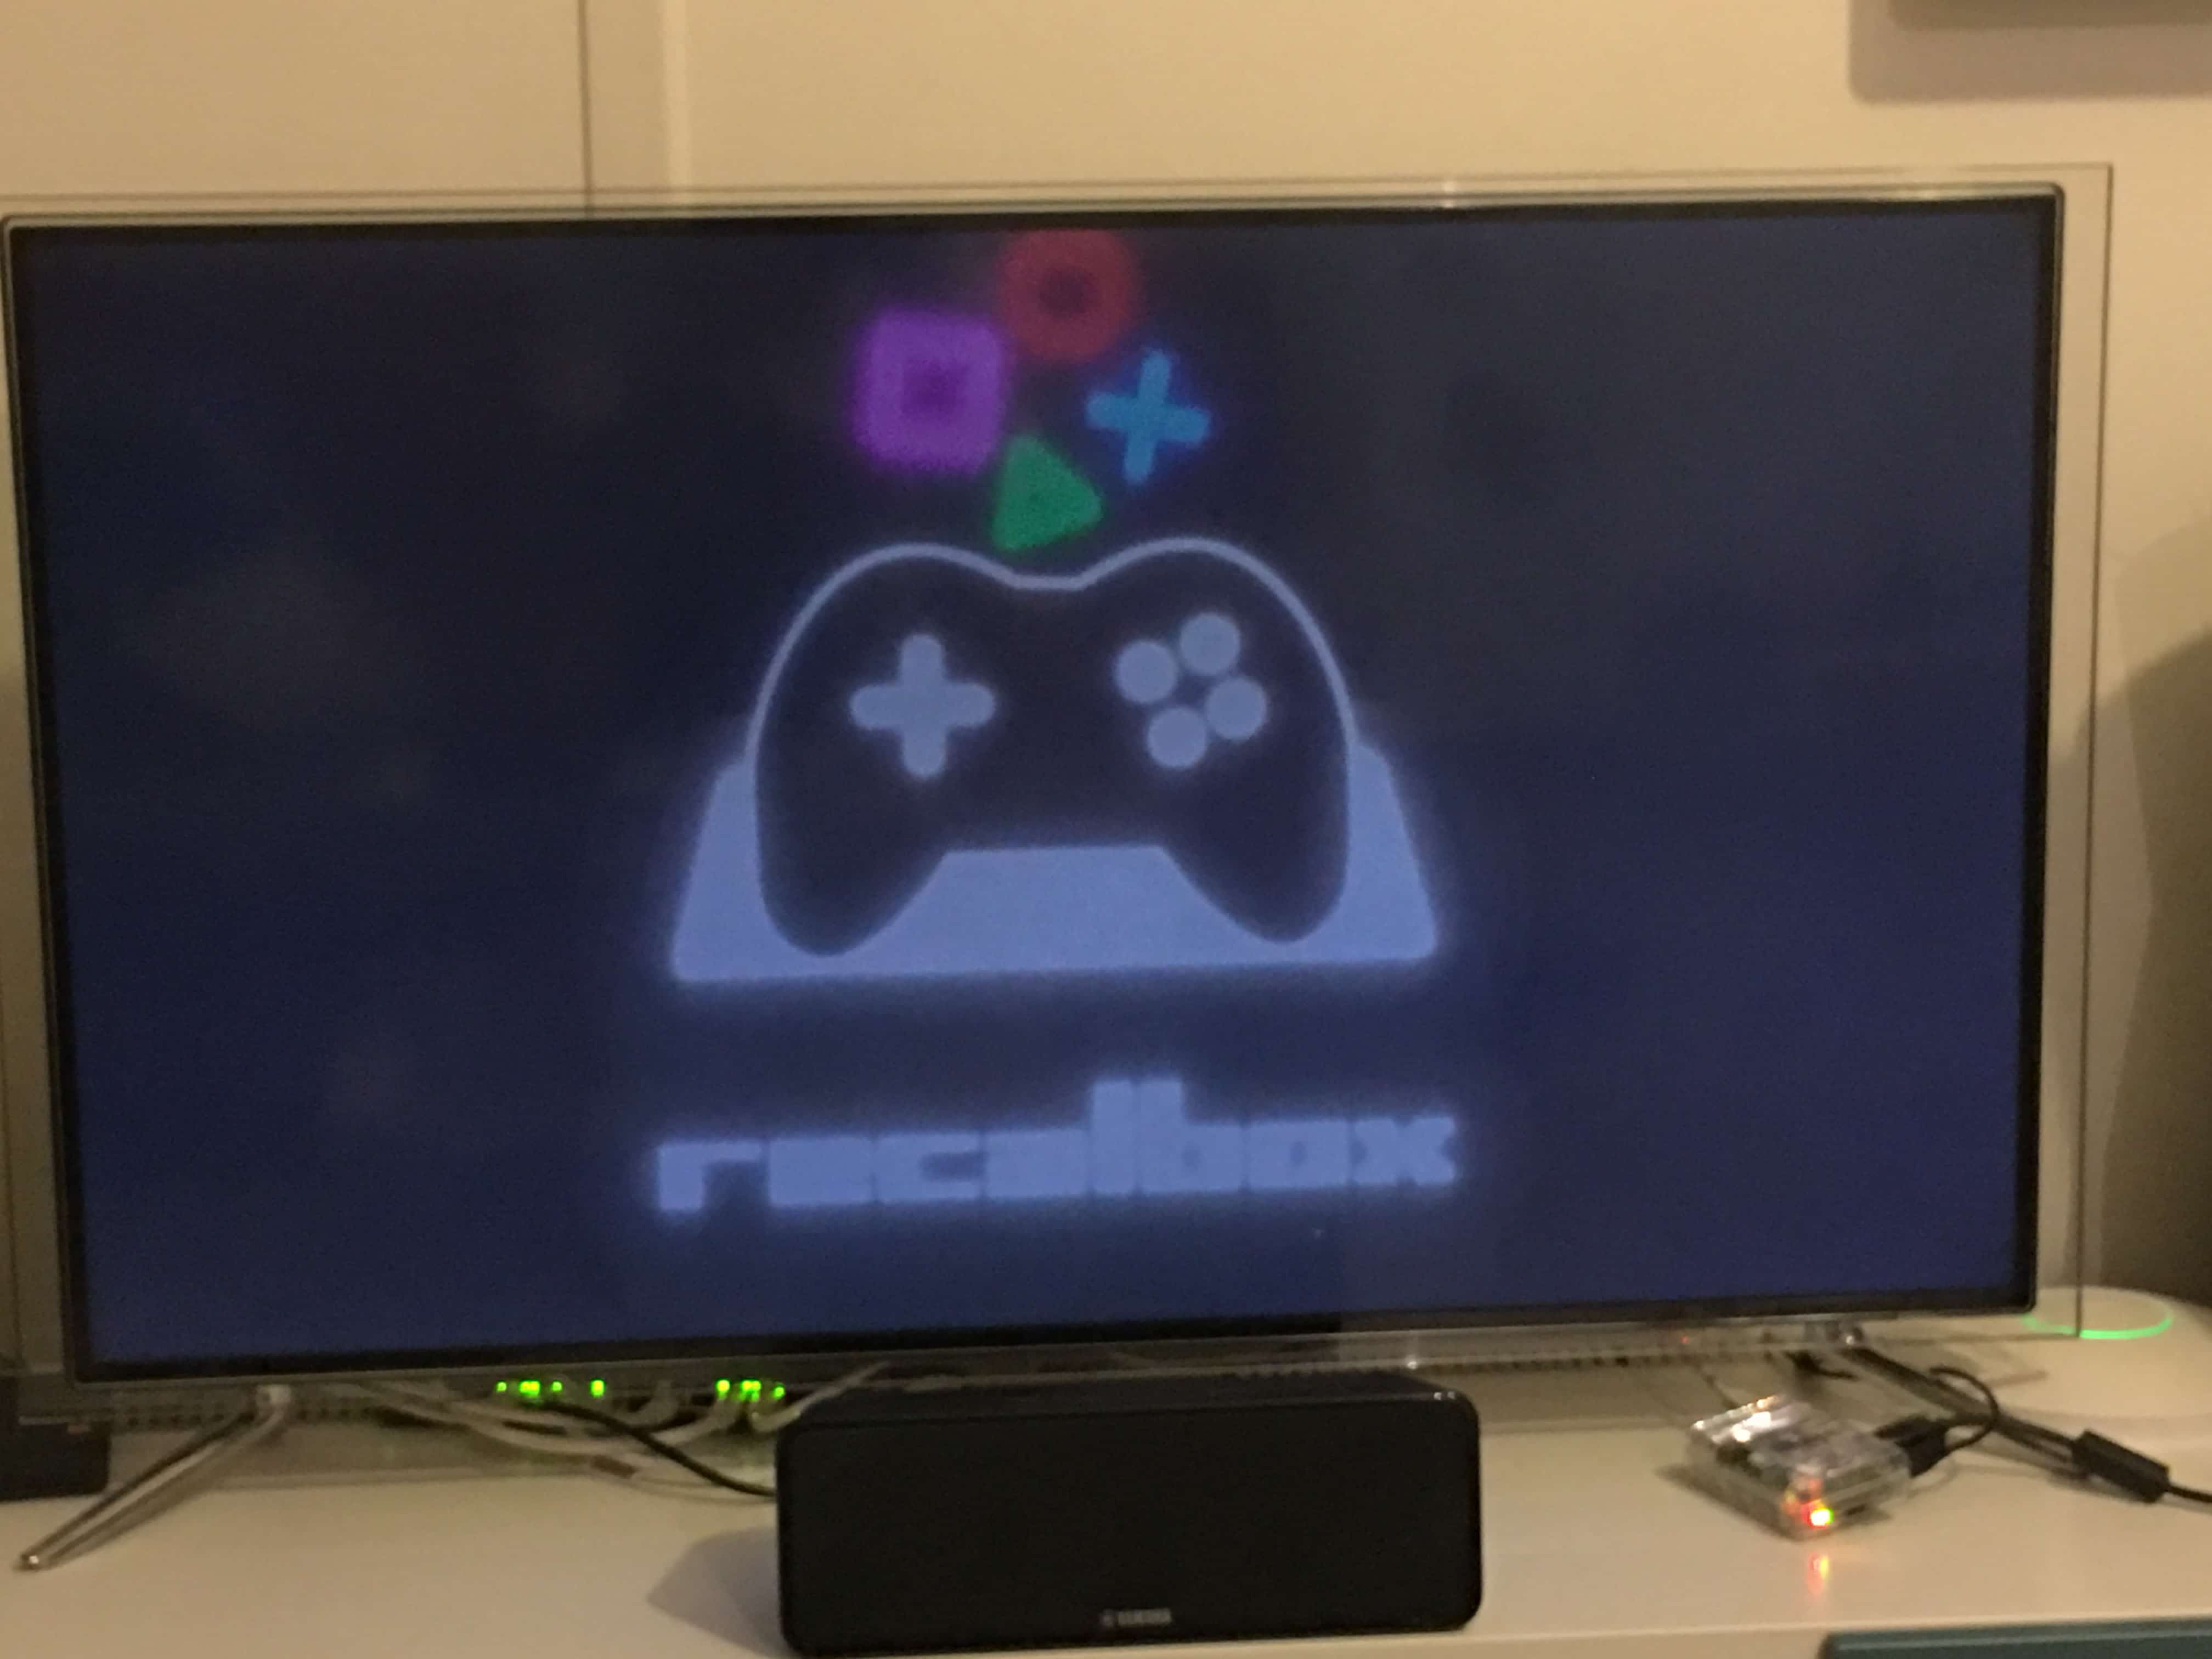
It’s time to get the beast on the road! Here is the splash screen when the OS is starting.
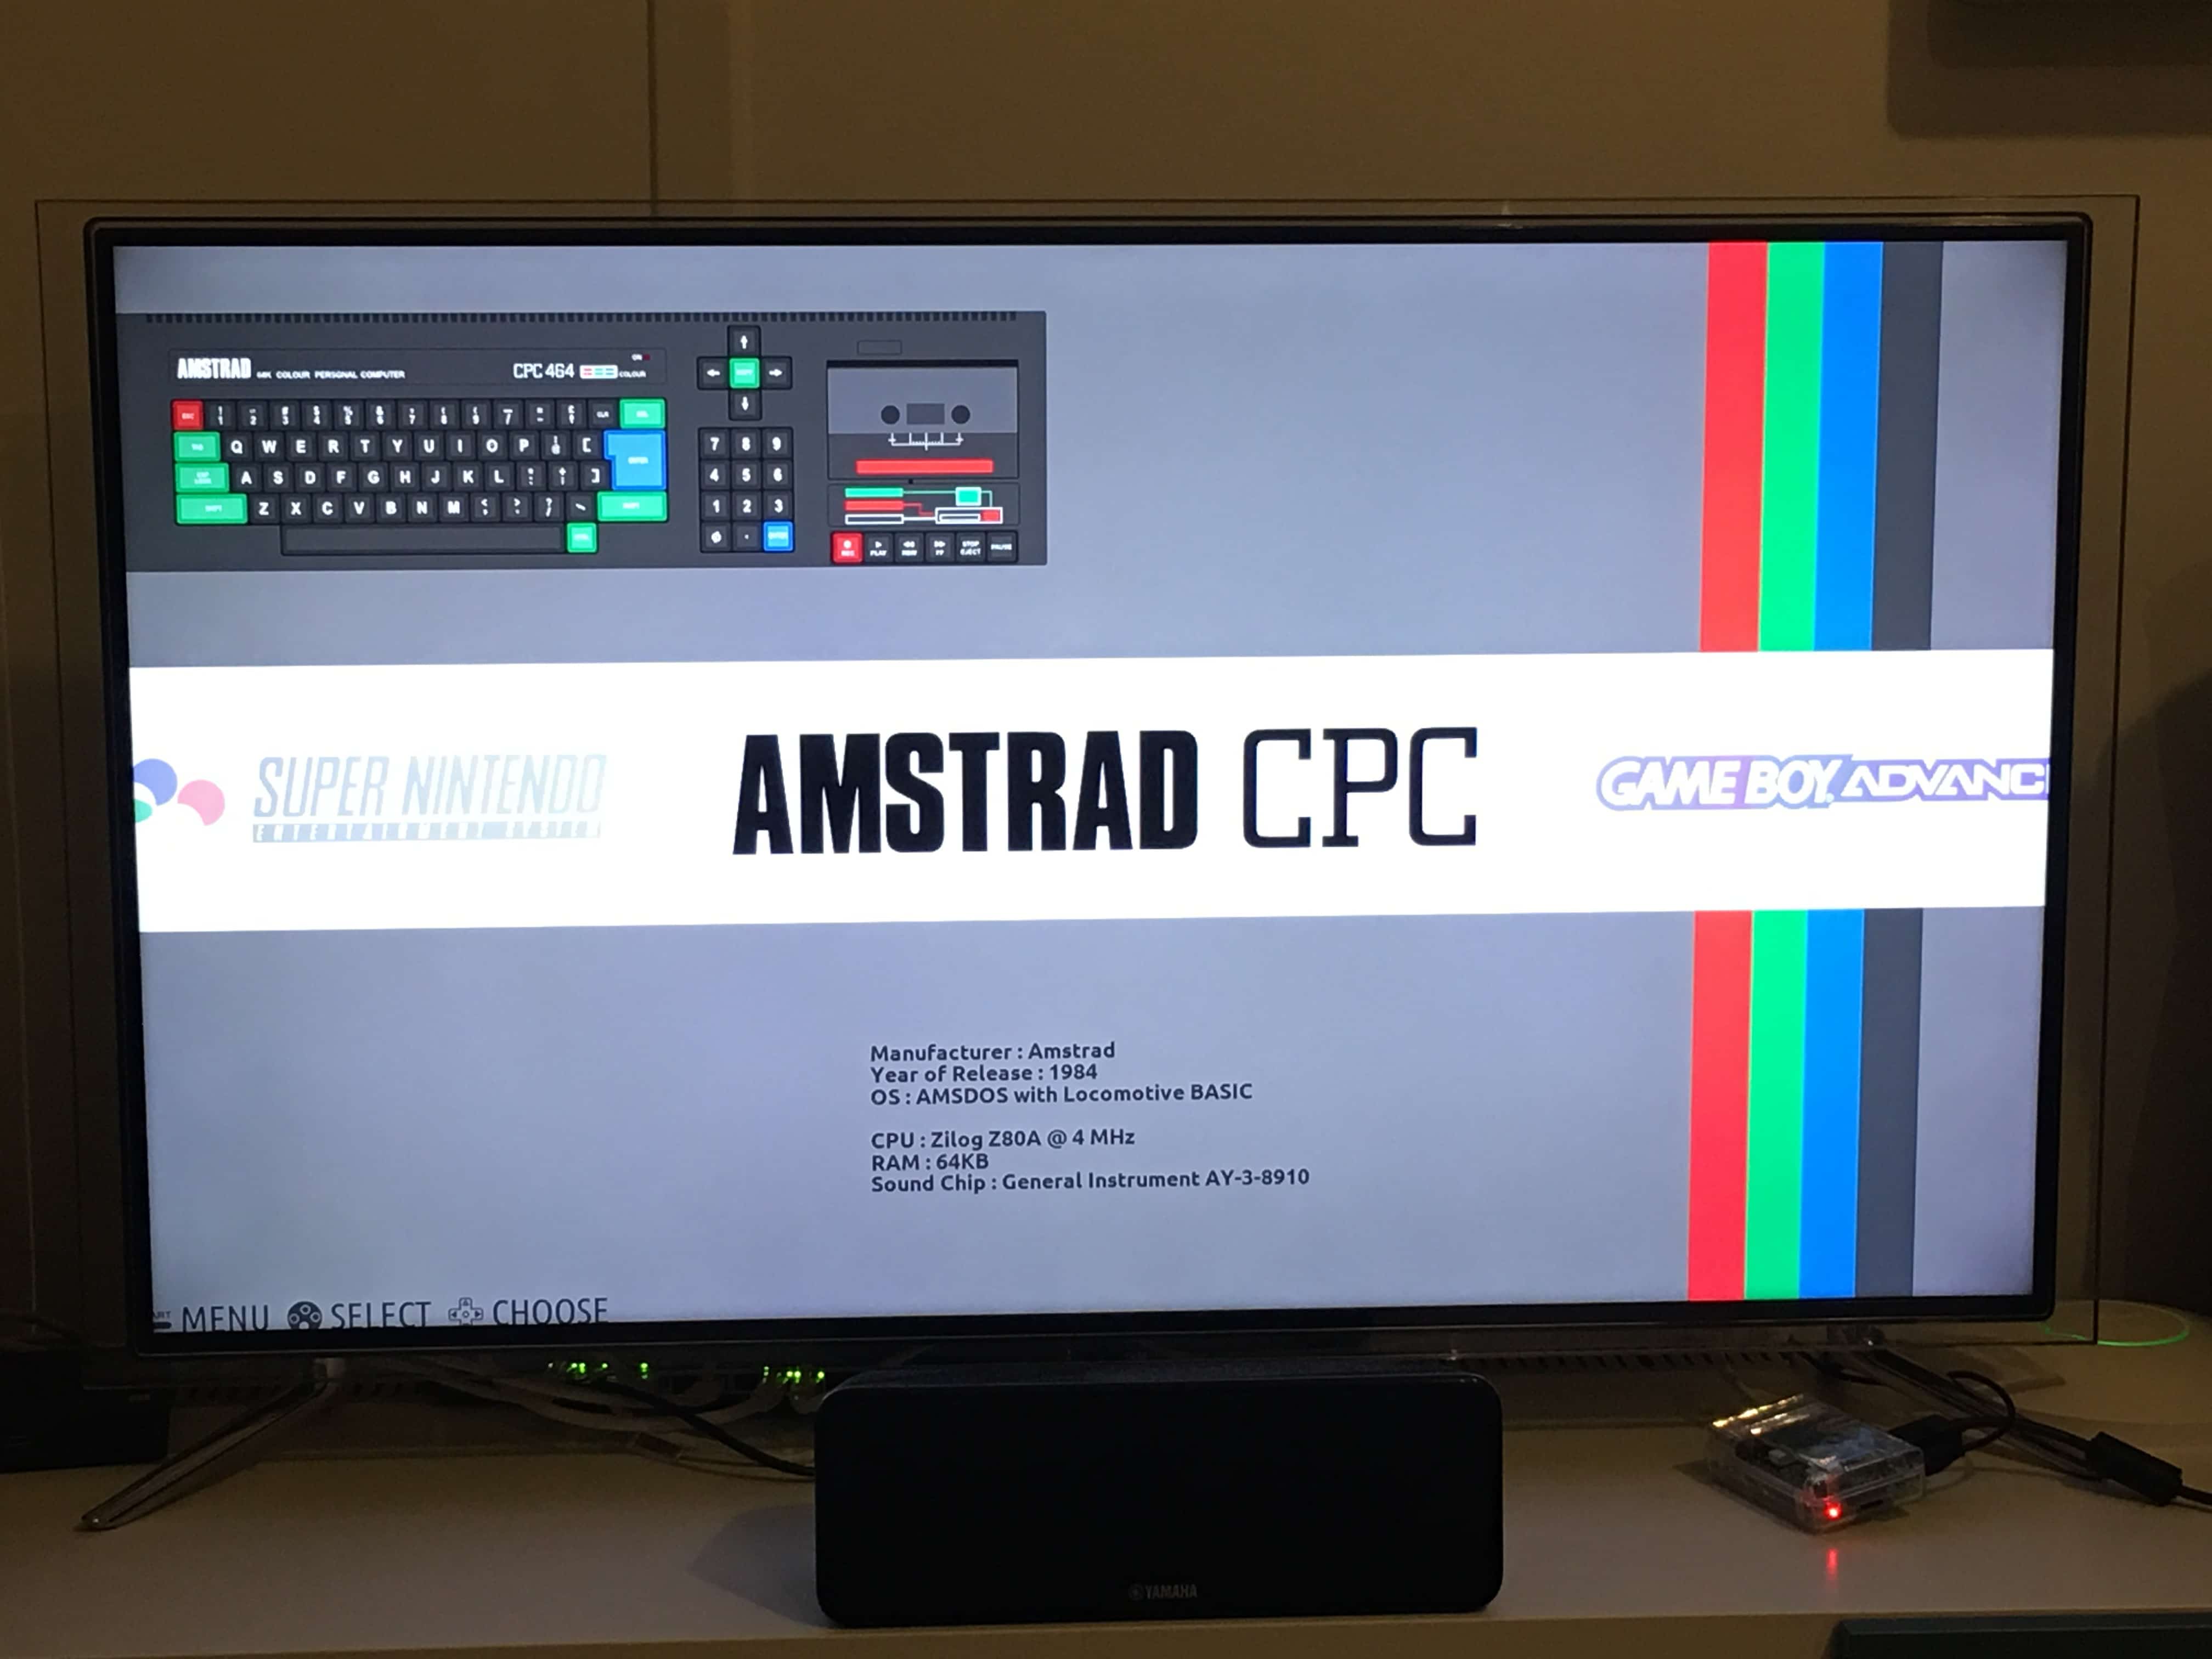
Let’s Play!
We find ourselves very soon for a next tutorial #DIY ! This time we will discuss the configuration in the details of controllers (joysticks) and also of the management of the ROM.
Do not hesitate to ask questions directly on the forum Sys-Advisor from this link.


![[TUTO] – Recalbox : How to add new ROMS to your Recalbox](https://sys-advisor.com/wp-content/uploads/2017/12/splash_recalbox-218x150.png)
![[TEST]-Xiaomi: Getting Started with the Xiaomi Roborock S50](https://sys-advisor.com/wp-content/uploads/2019/02/splash_xiaomi_roborock-100x70.jpg)
![[TUTO] – Recalbox : How to add new ROMS to your Recalbox](https://sys-advisor.com/wp-content/uploads/2017/12/splash_recalbox-100x70.png)
![[TUTO]-Skype Enterprise: How to connect to Skype online in Powershell](https://sys-advisor.com/wp-content/uploads/2017/12/smash_skype_enterprise-1-100x70.jpg)

